
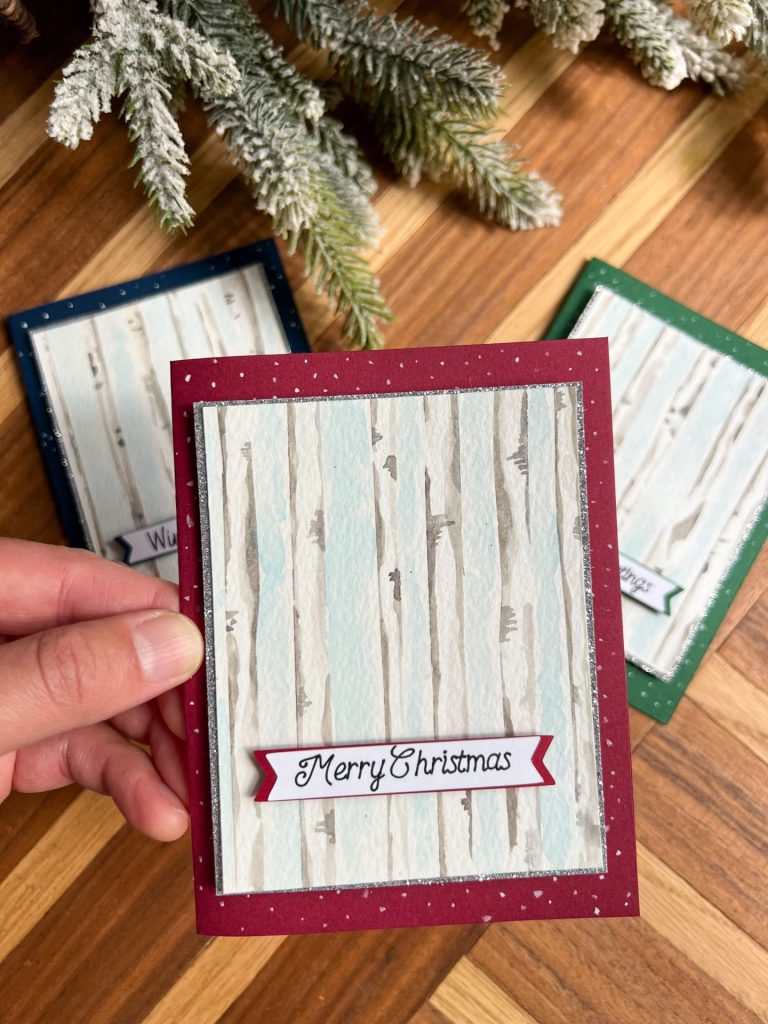
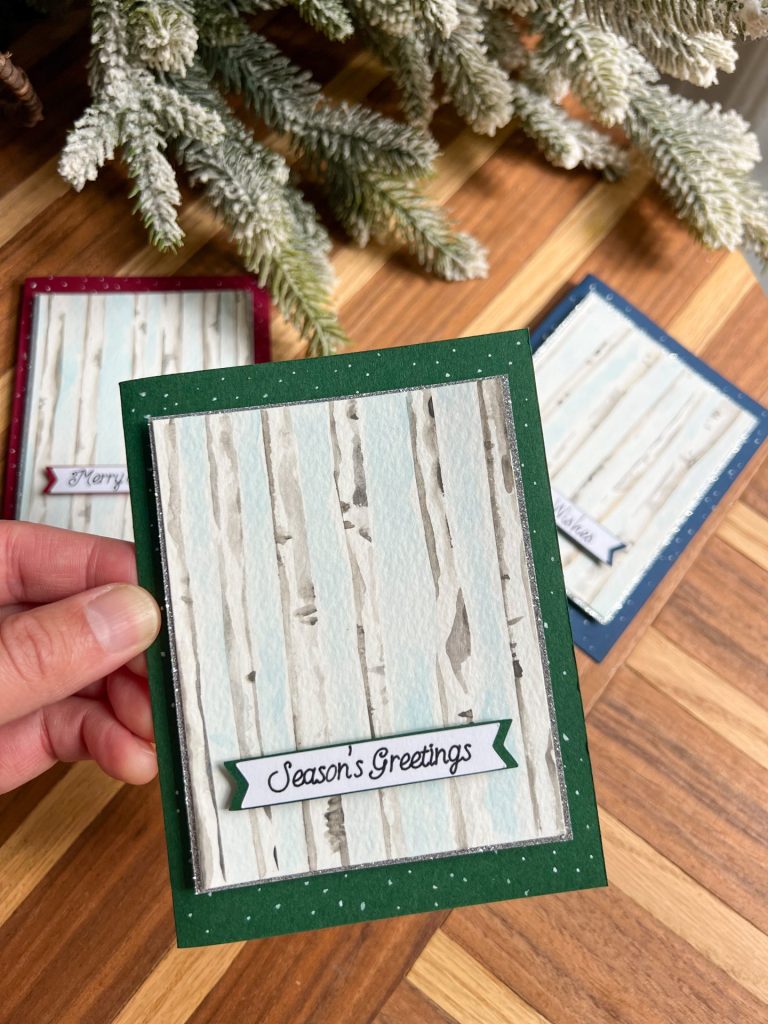
Create one of a kind greeting cards this holiday season. In this class you’ll learn a watercolor painting technique to create beautiful winter birch trees. This is a festive and simple way to paint birch trees for beginners to advanced painters. Then turn your paintings into holiday cards that stand out above the rest with an easy and effective layering technique.

Materials:
- Fiskars Paper Cutter
- Boning Tool
- Silicone Mat
- Non Stick Scissors
- Fiskars Gifting Board (optional to make envelopes)
- Painter’s Tape
- Watercolor Paper
- Watercolors
- Paint Brush
- Cardstock (color of your choice to make card)
- Double Sided Tape or Glue Stick
- Foam Mounting Tape

How To:
Cut and fold the card:
Use the paper trimmer to cut a piece of colorful cardstock to 8.5×4.5”. Once cut use fold the paper in half and use the bone folder to create a crisp edge.
Cut watercolor paper down to size:
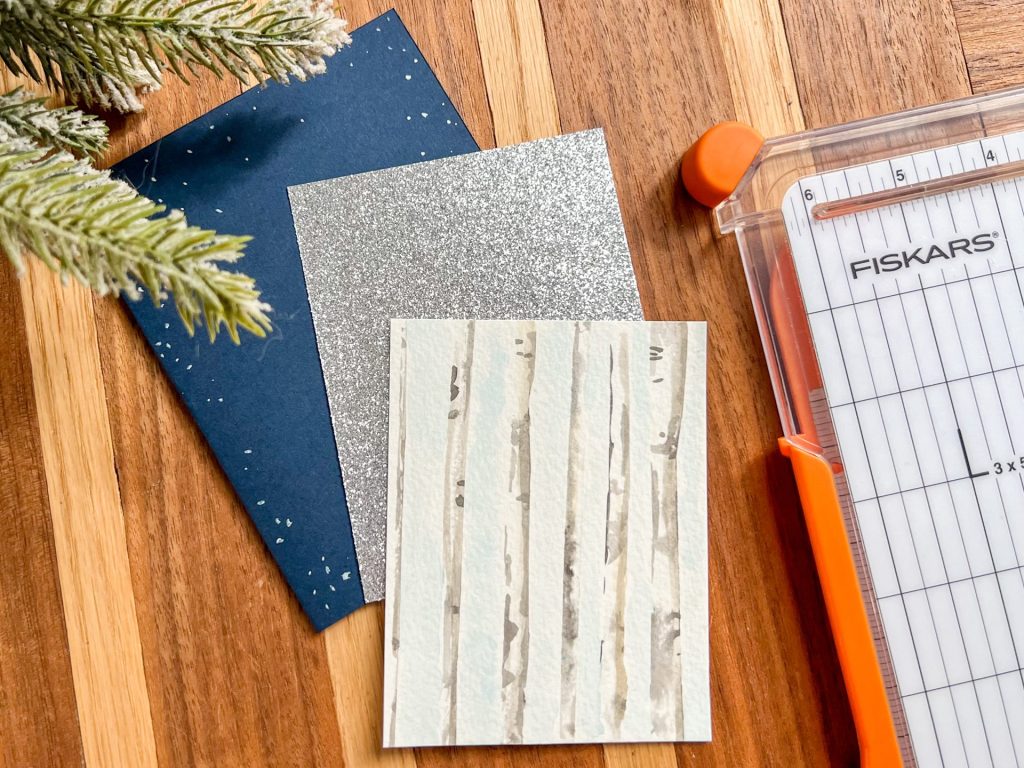
Use the paper trimmer to cut down the watercolor paper to 3.5×4.5”.
Cut glittery accent paper:
Use tha paper trimmer again and cut down a piece of glitter paper slightly bigger than the watercolor paper. It should really only be about one millimeter larger on each side. This will give it a very subtle look without overpowering the watercolored painting of the card.
Cut painters tape and add to watercolor paper:
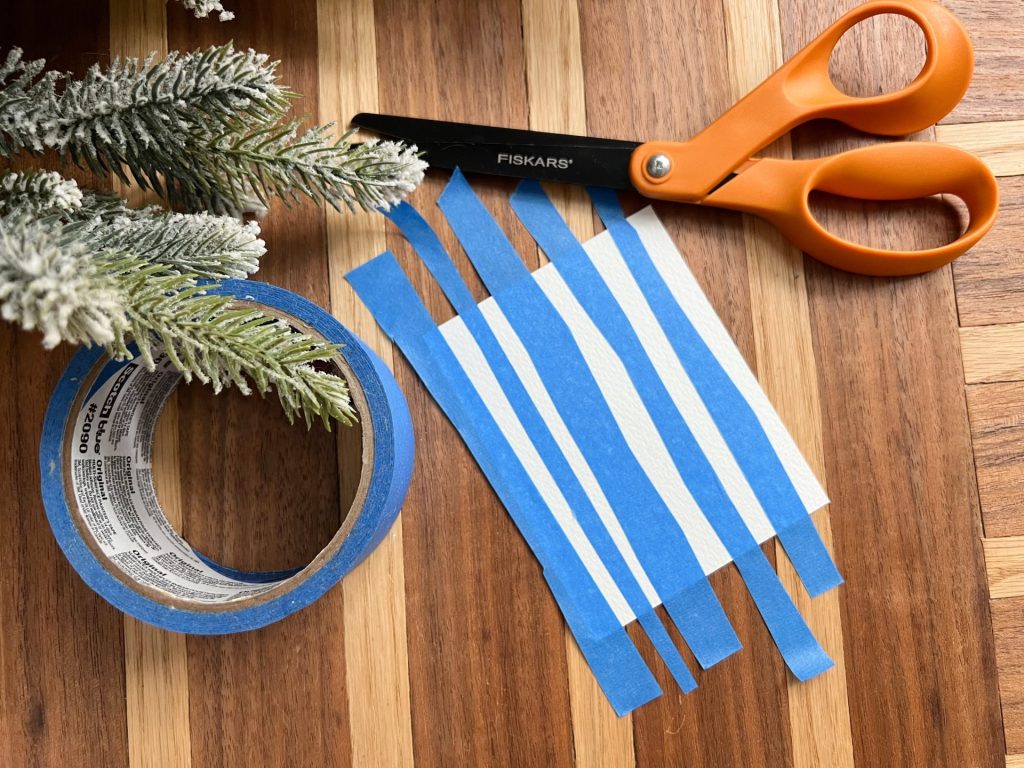
Use Fiskars Non-Stick Scissors and cut strips of painters tape. They should be long enough that they overhang on both sides of the watercolor paper.
Place the cut piece vertically across the card. This will create the space in between the trees.
Start watercoloring:
The trick to this technique is knowing when to stop. Less is more. Birch trees are white with small darker accents.
Start with a very watered down black. It should look light gray. Add a line of pain against each edge of the tape. This is going to be the outline of each tree.
Let it dry and add slightly darker black accents in random spots around. This will really give that birch tree look.
Peel off the painters tape when dry.
Watercolor the sky:
Dip your brush in water and add a light coat of it in between the trees.
Mix together a very light blue and lightly add it on top of the water before it dries. This technique helps the watercolor spread in a more even way, giving it a very subtle sky look.
Add Snow to the card:
Take a fine paint brush or a tooth pick and add small dots of paint around the colored cardtock with white acrylic paint. This will add a festive detail that really ties everything in together.
Add a saying:
Handwrite, print or use a cutting machine to help write out a festive saying like “Winter Wishes” cut it out as a banner and add a second layer of cardstock around it if you want to make it pop!
Put the card together:
Use mounting squares to put your card together. This will give it a 3D elevated look. If you don’t have mounting squares you can use double sided tape out craft glue.

Check out our DIY Origami Christmas Tree Cards!
Happy Holidays!