
The year of the cicada’s emergence! This is a fun and easy craft for the whole family! Make these charming paper cicadas that you can clip indoors or outdoors for a colorful pop! This is the perfect craft activity to keep the kids busy this summer and also a great substitute for people who find the real ones too creepy and crawly to see up close!

Why are cicadas so boring to talk with? Because they don’t stop buzzing about what was cool 17 years ago.
Materials
- Fiskars 5” Big Kid Scissors
- Bone Folder
- Paper Trimmer
- Paper Edgers
- Confetti Making Set (round punch)
- Clothes Pin
- Tracing Paper
- Colored Pencils
- Black Acrylic Paint
- Paint Brush
- Black Cardstock
- Brown Cardstock
- Glitter Cardstock
- Glue Stick
- Low Temperature Hot Glue Gun
- Craft Glue
- Tape
Join our free live class with Fiskars and Michaels July 23 2-3pm! Sign up here!!

How To:
Cut the wings:
Cut a piece of tracing paper into a square. Tip: Fold one corner of the paper to meet the opposite edge. Cut off the extra paper and unfold. Using your scissors cut the corners off in a rounded shape, this will help give the wings a more…bug look.
Color in the wings:
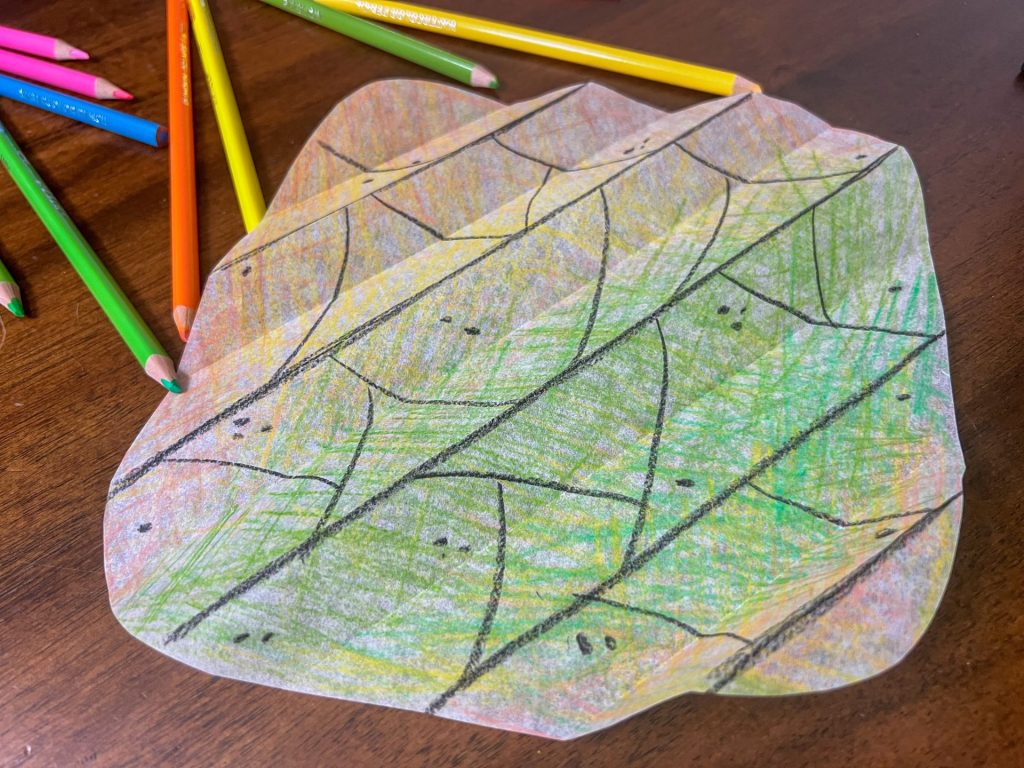
Pick a few colored pencils all in the same hue and scribble all around the tracing paper, you can keep it random or draw an on ombré effect, starting with one color and gradually changing to the next.
Turn the paper over and repeat the same process on the backside.
Fold the wings:
Place the tracing paper on the table and start folding it like a fan using the acordian fold technique.
Draw on wing details:
Unfold the tracing paper, with a black colored pencil or marker trace over the folds. Once done, you can add diagonal lines and dots for extra details. Flip the paper over and repeat.
Cut the wings in half to make two:
Fold the wings back into an accordion and cut directly in the center to create two wings. Pinch the end that you just cut and place a piece of tape directly over the cut edge, this will hold the end together and it will look like a fan. Repeat this on the second side.
Make the body:
Cut it out the body:
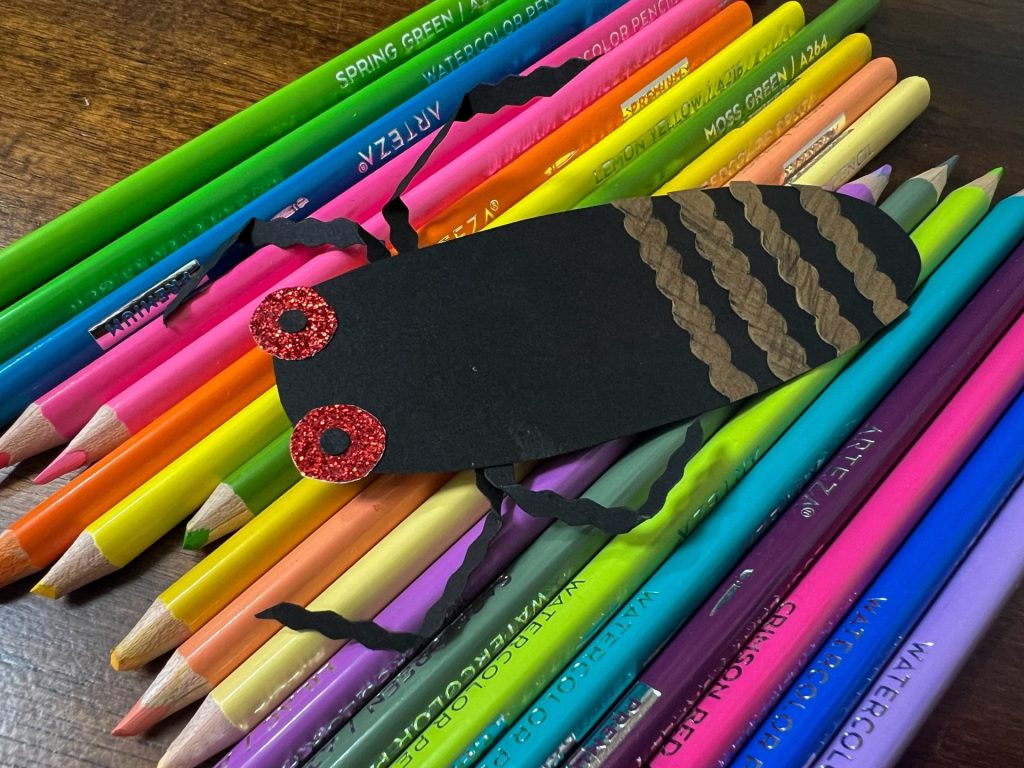
On a piece of black cardstock draw an oval about 4” long and cut it out. Create some details by cutting thin strips of different brown paper using the Fiskars Paper Edgers. Glue them onto the body and snip off any pieces that over hang. If you don’t have edging scissors, you could always draw these details on or cut out some wavy strips with your regular scissors.
Cut out eyes:
Cut out two circles from a piece of red cardstock. If you have glittery cardstock, even better! Use the circle confetti punch to cut out smaller black circles for the pupils. If you don’t have a punch, you could always draw them in with a black marker. Glue both eyes to the top of the bug.
Cut out the legs:
Using the Paper Edgers cut out thin strips of black paper about 5 inches long. Fold them and tape or glue them to the backside of the bug.
Assemble everything together:
Glue or tape the clothespin to the bottom of the bug (you can paint the clothespin black if you want, but keeping it natural works too! Tape or glue the the wings to the top and you’re done!

BUZZZZZZZZZZZZZZZZZZZZZZZZZZZZZZ!

If you loved these, you’ll love these back to school paper owls!